In one of our previous articles, we wrote how to create social media icon with GIMP image editor.
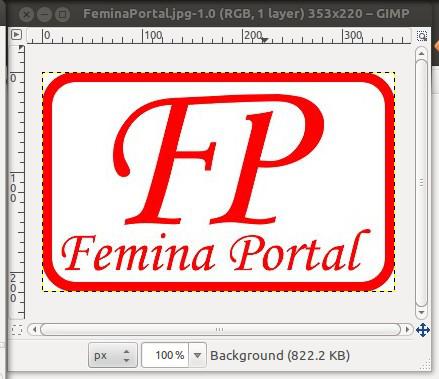
In this post, you'll learn how to create image reflection effect. For this tutorial, we're going to use logo of Femina Portal, very popular female Internet portal dedicated to our ladies.
{mobile_block=responsive_ad_728_90}
1) Open or create the image you want to create reflection effect for.
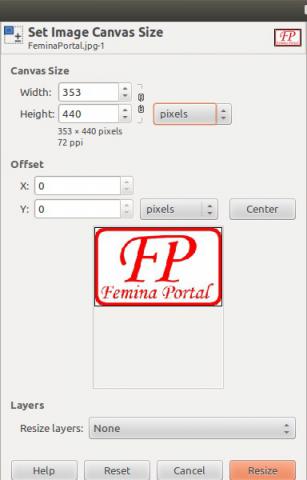
2) Go to Image > Canvas Size... and resize canvas size (height) to be as twice heigh as the original layer.
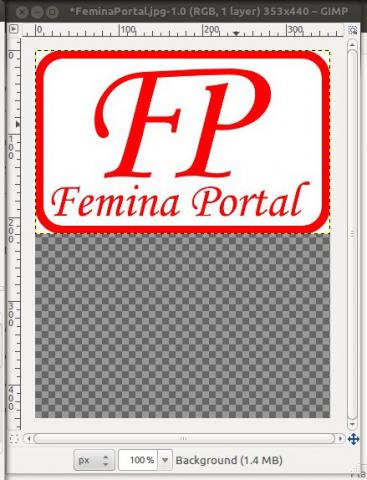
3) Go to Layer > Duplicate Layer
{mobile_block=responsive_ad_2_300_250}
4) Move new layer down to be just below the original layer
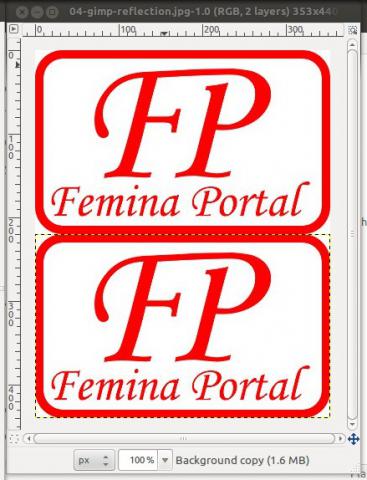
5) Flip the layer verticaly: Layer > Transform Layer > Flip vertically
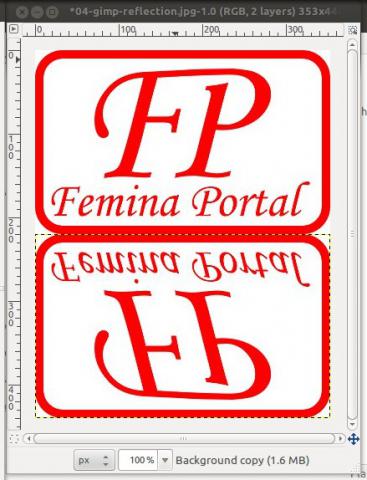
6) Add layer mask: Layer > Mask > Add Layer Mask...
7) Add blend effect to the new layer in order to create illusion of glass or water reflection: Choose the Blend Tool, set white color as frontend and select "FG To Transparent" gradient

8) Applay blend effect from the bottom to the up of the image and as a result you'll get the image with the reflection effect.

{mobile_block=responsive_ad_728_90}
