The GIMP, a free image processing editor published under GNU GPL licence, has many advanced features for creating and editing images in various formats.
Many people do not know that GIMP is capable to create animated GIF images without any additional plugin.
What is GIF image format
The Graphics Interchange Format (GIF) is a bitmap image format introduced by CompuServe in 1987.
Conceptually, a GIF file describes a fixed-sized graphical area (the "logical screen") populated with zero or more "images". Many GIF files have a single image that fills the entire logical screen. Others divide the logical screen into separate sub-images. The images may also function as animation frames in an animated GIF file, but again these need not fill the entire logical screen. GIFs can be used for small animations and low-resolution film clips so it's ideal for banners.
{mobile_block=responsive_ad_2_300_250}
Banner example
Let's create a simple animated GIF banner for our Internet Marketing Network BlicKlik.
BlicKlik is a Internet marketing network that serves ads on popular web sites, primarily in countries of former Yugoslavia (Serbia, Montenegro, Croatia, Bosnia and Herzegowina...). Some of them are Randez.com - social network, InternetOglasi.com - online classifieds, Webtraga.com - website directory, LinkPoslovi.com - job classifieds aggregator and many others.
The banner we're going to create will be very simple full size banner (468x60 px) and consist of two layers, background and a blinking area (e.g. button or text) attracting visitors' attention and calling for action.
Creating basic background
1) Start the GIMP
2) Click File > New...
3) Enter size 468x60 pixels and resolution 72 dpi
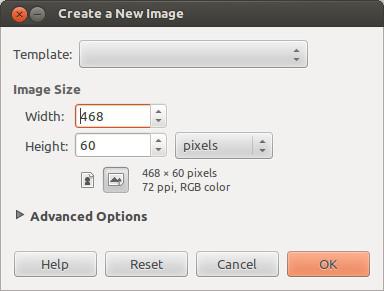
4) New image will appear in the editor
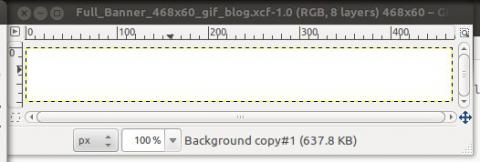
5) We have now a blank canvas for our banner.The idea is to have two layers that will be displayed one after another after certain period of time, creating animation effect in that way.
{mobile_block=responsive_ad_728_90}
Adding new layers
6) You are free to add your logo or to write any text message. For this purpose we've inserted the logo of our Internet marketing network and two text layers. We've got something like this:
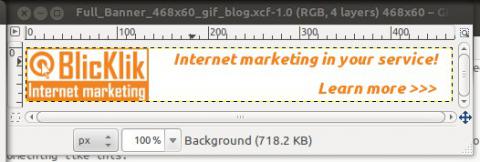
Layers:
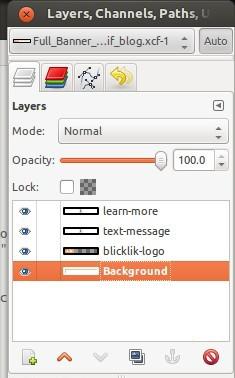
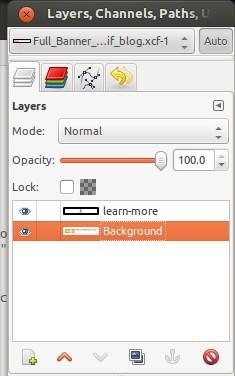
7) We're going to merge all layers except the first one at the top that will blink. In order to merge down a layer, right click on it and select "Merge Down" item from the popup menu. Repeat this step for all layers you want to be merged with a layer below. As a result, you shoul have only two layers:
Creating animation
Our animated GIF banner will consist of two layers only, the background image and blinking text. The first layer will be displayed 1 second as well as the second one (1 second = 1000 milliseconds).
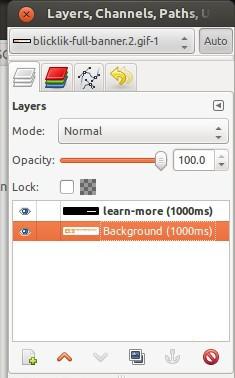
8) In order to set the period of animation you need to rename each of the layers and add value in brackets at the end of the name. For example, our main layer will be named: "Background (1000ms)" and the blinking text layer will have name: "learn-more (1000ms)".
Tip: To rename a layer double-click on it, change its name and press Enter.
Tip: If a layer doesn't have animation period in its name, you can add default period in one of the steps described below.
{mobile_block=responsive_ad_728_90}
9) Also, you need to remove alpha chanel from the text layer or else the layer will be too pixelized in the final image. Right click on the text layer and select "Remove Alpha Channel" (alpha channel keeps information about transparency of a layer)
After renaming and removing alpha channel, you'll have the following situation:
Preview the work
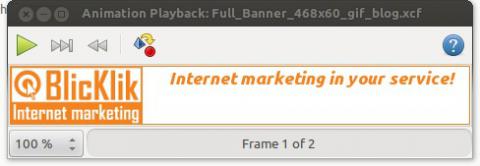
10) You can preview your work by selecting Filters > Animation > Playback... > and click the Play button
11) Click File > Save As... and enter the name with .gif extension (e.g. blicklik-full-banner.gif)
12) On the next screen choose "Save as Animation" option
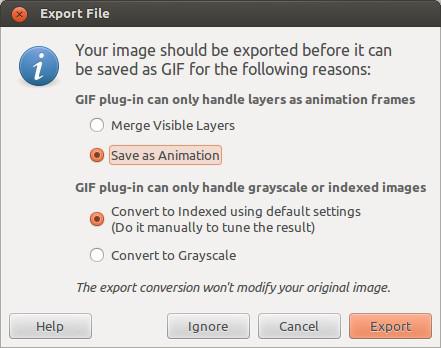
13) Next, enter comment that will be embedded into a GIF image. leave "Loop forever" selected and change default 100 milliseconds for "Delay between frames where unspecified" (if you remember, we've mentioned this default value in one of the previous steps).
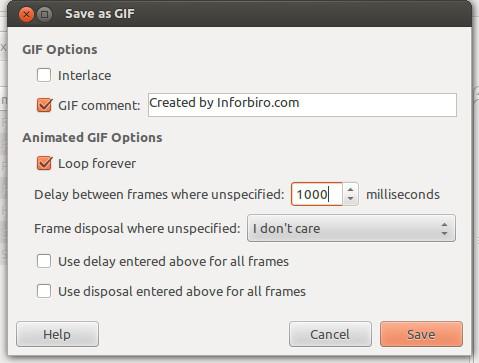
14) Click the "Save" button
Here is the finished banner for BlicKlik Internet Marketing Network:

