SilverStripe is award winning free content management system, published under MIT licence. The latest and greatest version is v3.0.2. Below are instructions how to install SilverStripe CMS on your own environment.
{mobile_block=responsive_ad_728_90}
Preparing the environment
Before you install SilverStripe you need to be sure that all requirements are satisfied and that your database is created. You need to have installed PHP at least v5.3.0 and write access to a database.
Full system requirements can be found here
Downloading SilverStripe
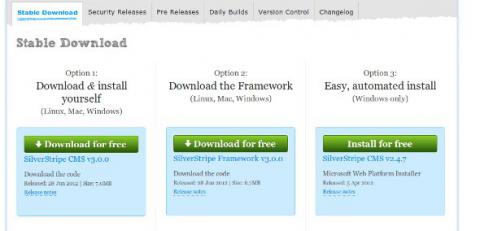
After checking that your environment satisfies the requirements, the next step is to download SilverStripe from http://www.silverstripe.org/stable-download/

Extract the compressed files, and you'll get a folder called SilverStripe-cms-v3.0.0.
Uploading the files
After the files are extracted we need to upload them to the web server via FTP client (e.g. Filezilla) using the server address, your username and password. Or simply copy the files if you're going to install SilverStripe on your local machine.
If you want to install SilverStripe on a local server, be sure that you've placed the files into the valid site folder (e.g. htdocs on Apache web server).
After the files are uploaded you are ready for the installation.
Installing the SilverStripe CMS
Go to address where your SilverStripe installation files are (e.g. http://localhost/silverstripe3 if you're going to install SilverStripe on local computer).
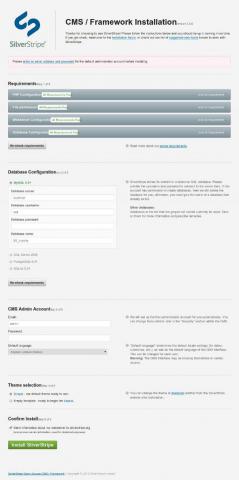
The following screen will appear:

- Enter database servername, database credentials and a database name itself.
- Enter email and password for CMS admin's account
{mobile_block=responsive_ad_2_300_250}
- Select default theme or empty template
- Click the "Install SilverStripe CMS' button
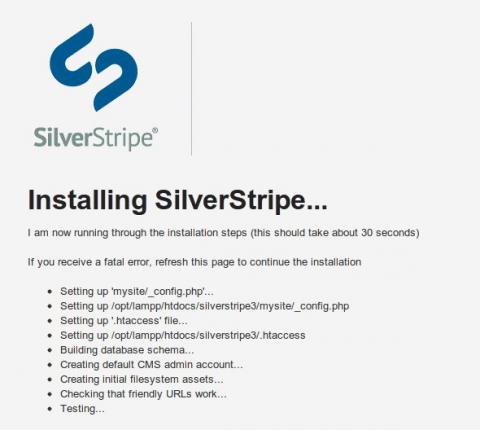
The next screen displays the installation progress

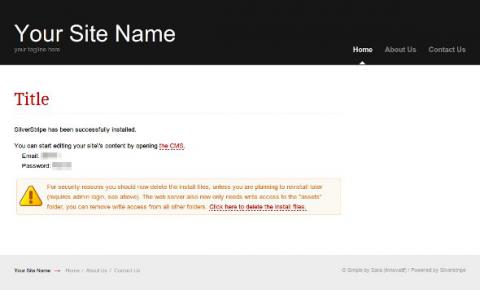
And, finally, if everything has passed fine, the last screen informs that SilverStripe has been successfully installed.

For security reasons you should delete the install files, unless you are planning to reinstall later (requires admin login). Click on the link on the final screen in order to delete the install files.
Congratulations! Your SilverStripe CMS is up and running.
{mobile_block=responsive_ad_728_90}
